
Installing CapRover for Easy App Deployment
When it comes to deploying applications, many developers rely on third-party hosting providers. However, with CapRover, an open-source platform, developers can easily deploy and manage their applications on their own servers. In this article, we’ll guide you through the steps of setting up CapRover on your server and deploying applications on it.
Before we begin, it’s essential to note that CapRover requires a server running a recent version of Ubuntu or Debian, with Docker and Node.js installed.
Step 1: Installing Docker
Docker is a containerization platform that allows developers to package their applications and dependencies into a single container, which can be easily deployed on any server. To install Docker, run the following commands on your server:
sudo apt update
sudo apt install docker.io
After the installation, you can verify it by running:
docker --versionIf the output displays the version number of Docker, then the installation was successful.
Step 2: Installing Node.js and npm
Node.js is a JavaScript runtime that allows developers to run JavaScript code on the server-side. It comes with npm, a package manager that allows developers to install and manage packages and dependencies for their applications. To install Node.js and npm, run the following commands:
sudo apt install nodejs
sudo apt install npm
After the installation, you can verify them by running:
node -v
npm -v
If the output shows the version numbers of Node.js and npm, then the installation was successful.
Step 3: Installing the CapRover CLI
To install the CapRover CLI on your server, run the following command:
npm install -g caproverStep 4: Installing CapRover
Now that we have Docker, Node.js, and the CapRover CLI installed, we can proceed with installing CapRover. To install CapRover, we must first install its docker container. Run the following command:
sudo docker run -p 80:80 -p 443:443 -p 3000:3000 -v /var/run/docker.sock:/var/run/docker.sock -v /captain:/captain caprover/caproverThis will download and run the CapRover container. Before running the setup script, make sure that the firewall is configured.
sudo ufw allow 80,443,3000,996,7946,4789,2377/tcp; ufw allow 7946,4789,2377/udp;Now that the firewall is configured, run caprover serversetup and follow the installation instructions. You’ll be asked to set your root domain, along with your password, after you enter the IP of the server.
Once the script has finished running, you can access the CapRover web interface by visiting the URL https://captain.your-root-domain.com.
Step 5: Deploying Applications on CapRover
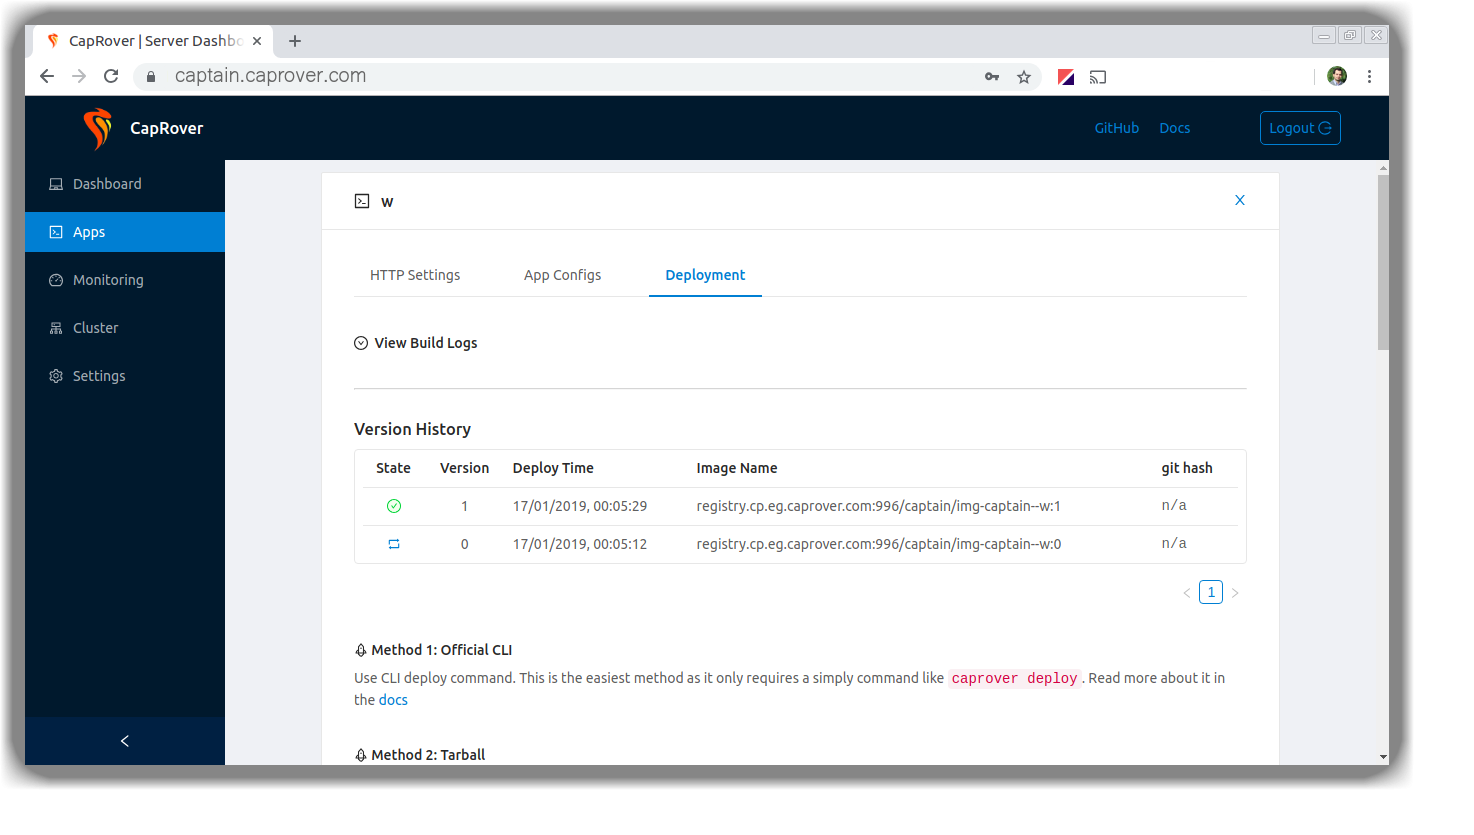
Now that we have CapRover installed, we can start deploying our applications. To deploy an application, we need to create a new app in CapRover and configure it with the necessary settings.
To create a new app, log in to the CapRover web interface and click on the “Apps” tab. Then, enter the name of your app and click on the “Create New App” button.
Once the app has been created, you can configure it with the necessary settings, such as environment variables, ports, and volumes.
Conclusion
CapRover is an open-source platform that allows developers to easily deploy and manage their applications on their own servers. In this article, we’ve gone through the steps of setting up CapRover on your server, including installing Docker and Node.js, and running the CapRover installer script. We’ve also covered the process of deploying applications on CapRover. With CapRover, developers can easily deploy and manage their applications on their own servers, without having to rely on third-party hosting providers.